E30 Rear wheel bearing
replacement.
I
have a friend in town that owns his own race shop so I had access to a
lift. I also talked another friend who’s
done this before into helping me.
Hopefully, this guide, though crude, will help you get some idea of how
this job goes.
I
highly recommend using a lift on this job or just paying somebody else to do
it. It’s not fun.
Please
note that we replaced the rear axles at the same time. I believe you have to probably take them off
anyway to replace the bearings.
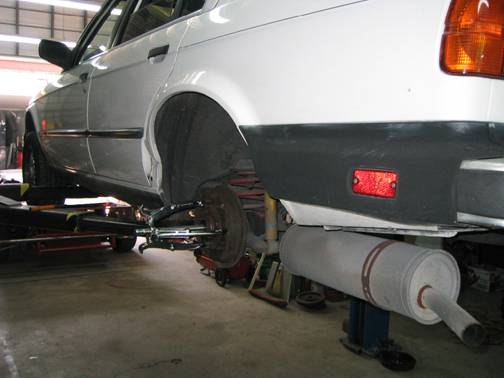
We
put the car up on the lift and removed the wheels.
I
have rear drum braked on my 1985 318i so removed the outer drum. Disc brake people would have to probably pull
their rotors and calipers and tuck them up into the fender well safely.
We
pulled the large retainer nut off the end of each axle using an impact wrench,
(another highly recommended tool!) I think it was about a 32mm.
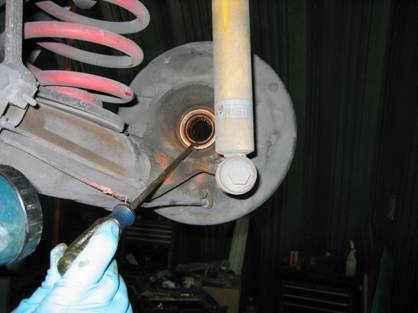
Next,
we disconnected the rear axle assembly from the rear differential

They’re
allen heads.
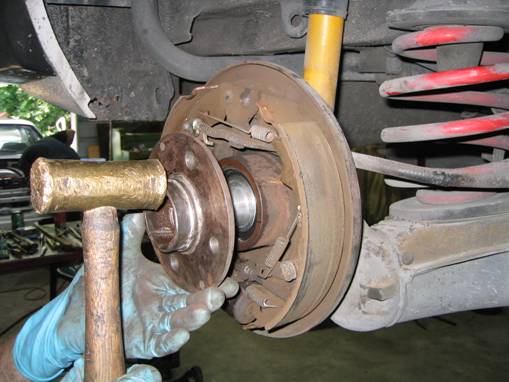
…and
used a cold punch and a large brass hammer to pound the axle (spline portion)
out from the center of the rear wheel bearing. Mine had been in there for around 400,000
miles so they didn’t come out willingly.
Some liquid wrench or pb-blaster comes in handy here.
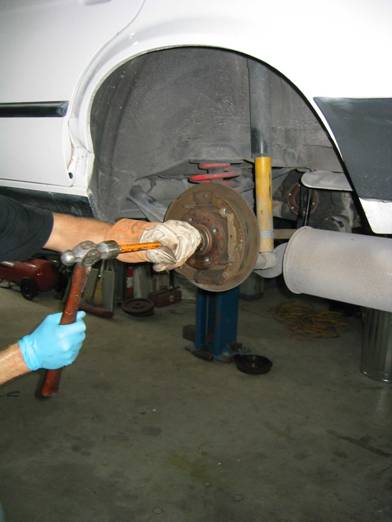
We
actually destroyed one of the cold punches and had to use another one and a
baby sledge.
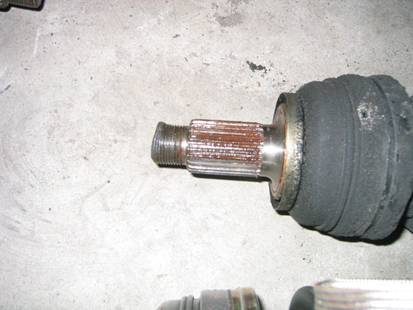
The
threaded end of this old axle was beat to a pulp when we were done.
Luckily,
they didn’t look too closely at the parts store so I still got my core charge
back!
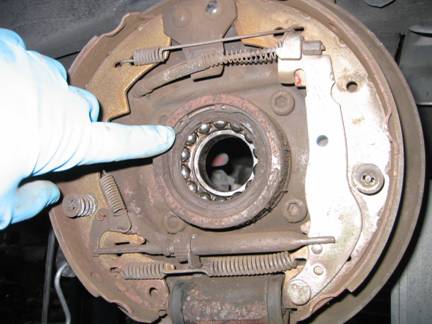
Often
times, when you pound these out, the hub might come out with the axle and bring
the inner race of the bearing out still on the hub. Be inventive if that happens.
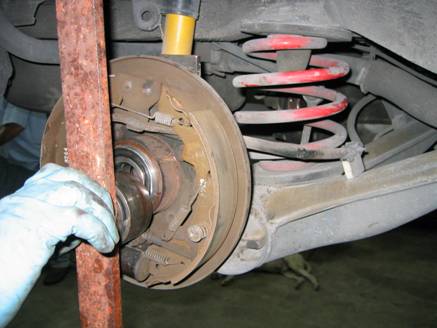
The
wheel hub has inner splines that match up the splines on the axle end. Here’s a picture where they go into the hub
from inside.
Here’s
a picture of the inner race still in the hub. Note the snap ring under my
finger has
to be removed.
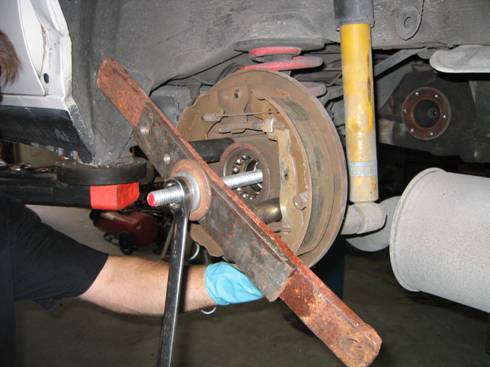
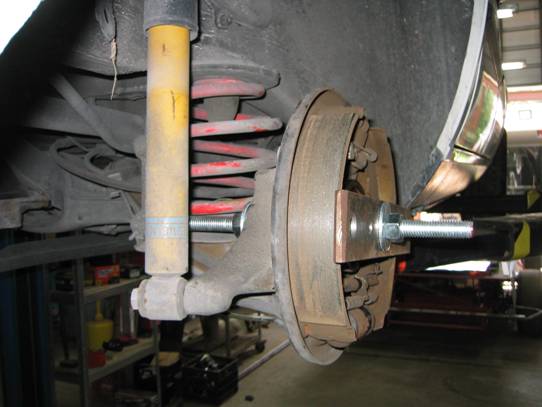
Next,
we had to invent a type of press to take out the wheel hub. It has to come out so that you can press the
new bearing into it. Bavauto and other
places make a press tool, but we just got a length of all-thread from the
hardware store, a heavy duty piece of steel bar, and used some sockets to do it
as shown in the picture.
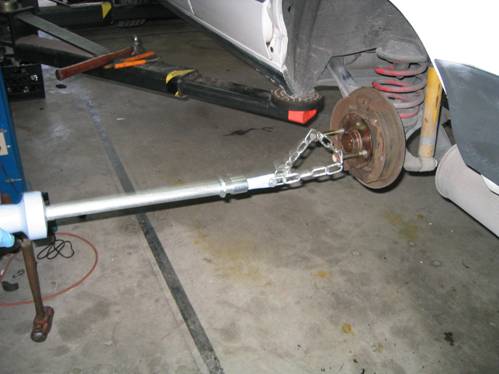
Or,
you can use a puller. This one was a
cheap-o model and broke on us.
We
were even gonna try this ghetto method shown below, but after getting it hooked
up and looking at it and having a good laugh, decided not to. Yes, that’s a pull-hammer.
Once
the hubs were out, we knocked out the inner race from the wheel hub.
Now
is the time to get your new pieces ready.
Clean
up the wheel hubs really well, and anti-seize the inside of them lightly.
Also,
anti-seize the outside of the new bearings.
If
you’re using re-man axles like we were, you’ll want to take a small triangle
file and make sure the splines on the new axles are in good condition. Ours were pretty beat up.
An easy
way to do this is to simply pound the hubs onto the new axles which forces the
splines to match up. Then, use a puller
too pull the hubs off the new splines.
Clean up both, and repeat this a few times. It’s a crude method, but it saves you 3 hours
of filing to try and get the splines to line up. You probably wouldn’t have the same problem
if you bought new axles, but remanufactured ones are often beat up rather badly
on the splines.
NOTE If you have the new bearings
in and go to put the axles back in, do not do it without making sure the
splines line up easily. Otherwise, when
you tap in the axle, it’ll push the wheel hub too hard and that will push out
the inner race of your brand new bearing.
And you’ll have to start back over.
We did this on one side and we weren’t happy.
Next,
press the bearings back into each side.
We simply reversed the direction of our homemade puller contraption and
pressed them into each side.
NOTE When you press in the new
bearings, make sure you only press on the outer race. The inner race will push out very very
easily. We used the old bearing as a
pressing surface so that we’d only press on the outer race. Make sure you line it up nicely (not like
shown in the picture)
After
your bearings are press in, you can press in the hubs.
This
is where it gets tricky. You have to
have something on the back (inside) of the hub to go against the inner side of
the bearing. By inner side, I mean
toward the differential.
We
used a large thick steel washer. If you
don’t have something there, you’ll pop out the inner race of the new
bearing.
So…after
seating it gently with a hammer, tapping it lightly all around the rim several
times…..press away!
Pressing
it in….
You
can kinda see the big washer on the backside here holding in the inner race.
Next,
all you do is LIGHTLY tap your axles back in. This is where you want to make sure those
splines match very easily. Then, bolt
them back up to the differential, put the brake drum (or disc and caliper) back
on, replace the wheels and you’re done!
Matt